Check how the clip rests
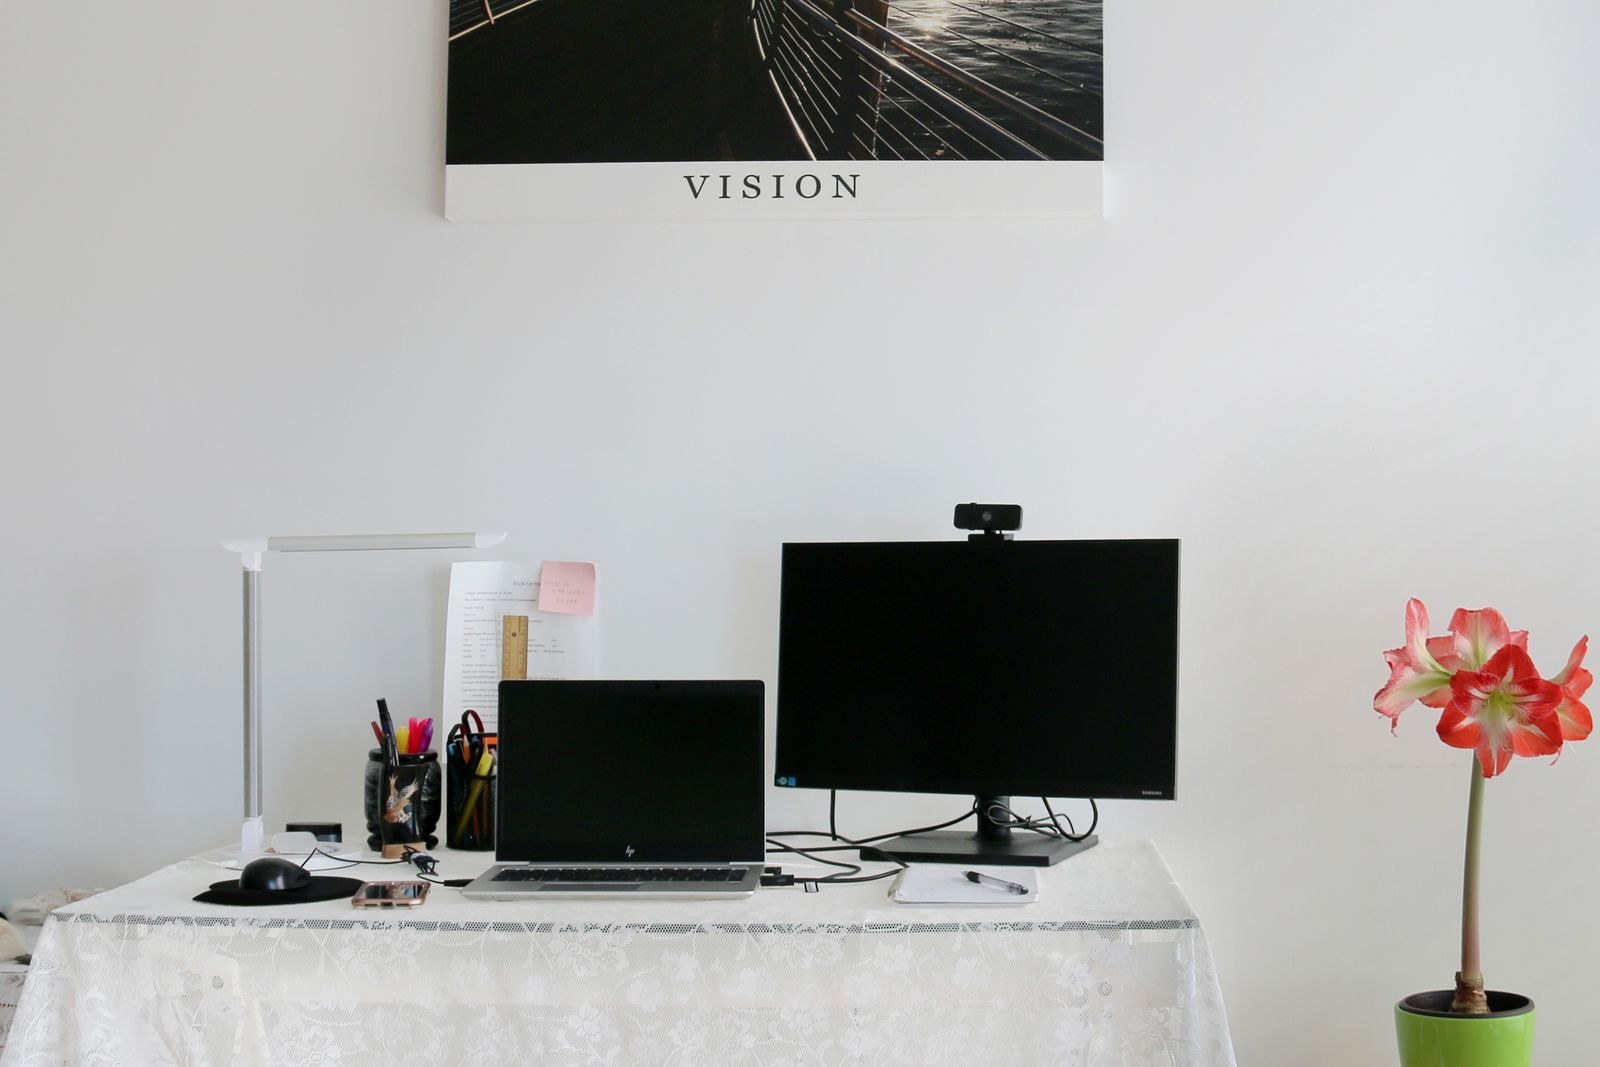
Inspect the webcam's mounting instructions and the monitor's edge. A thin bezel, curved back or unusually deep housing can affect how a clip sits. The mount should not press on the active panel or cover a sensor, control or ventilation opening. Do not assume that a clip balanced on the top edge is secure simply because it stays still for a moment.
Position the camera so the lens has a clear view without requiring the monitor to tilt away from your preferred viewing angle. A webcam with its own adjustment may make this easier. Open a local preview and check the framing from the position you normally occupy. A camera aligned with the center of the monitor can still frame you poorly if the screen is far to one side.
Include light and background
Check the preview with your normal room lighting and screen brightness. A bright window behind you or a lamp reflected in glasses can affect the image. Move the light or adjust the camera angle before relying on software correction. The goal is a usable conversation or recording image, not a perfect studio arrangement that interferes with the desk.
Review what appears behind you before a call or stream. Personal documents, other screens and household activity may be visible even when you focus only on your face. A physical privacy cover or the device's supported disconnect method can be useful when the camera is not needed. Verify any indicator behavior through the manufacturer's instructions rather than guessing what a light means.
Test movement and the microphone choice
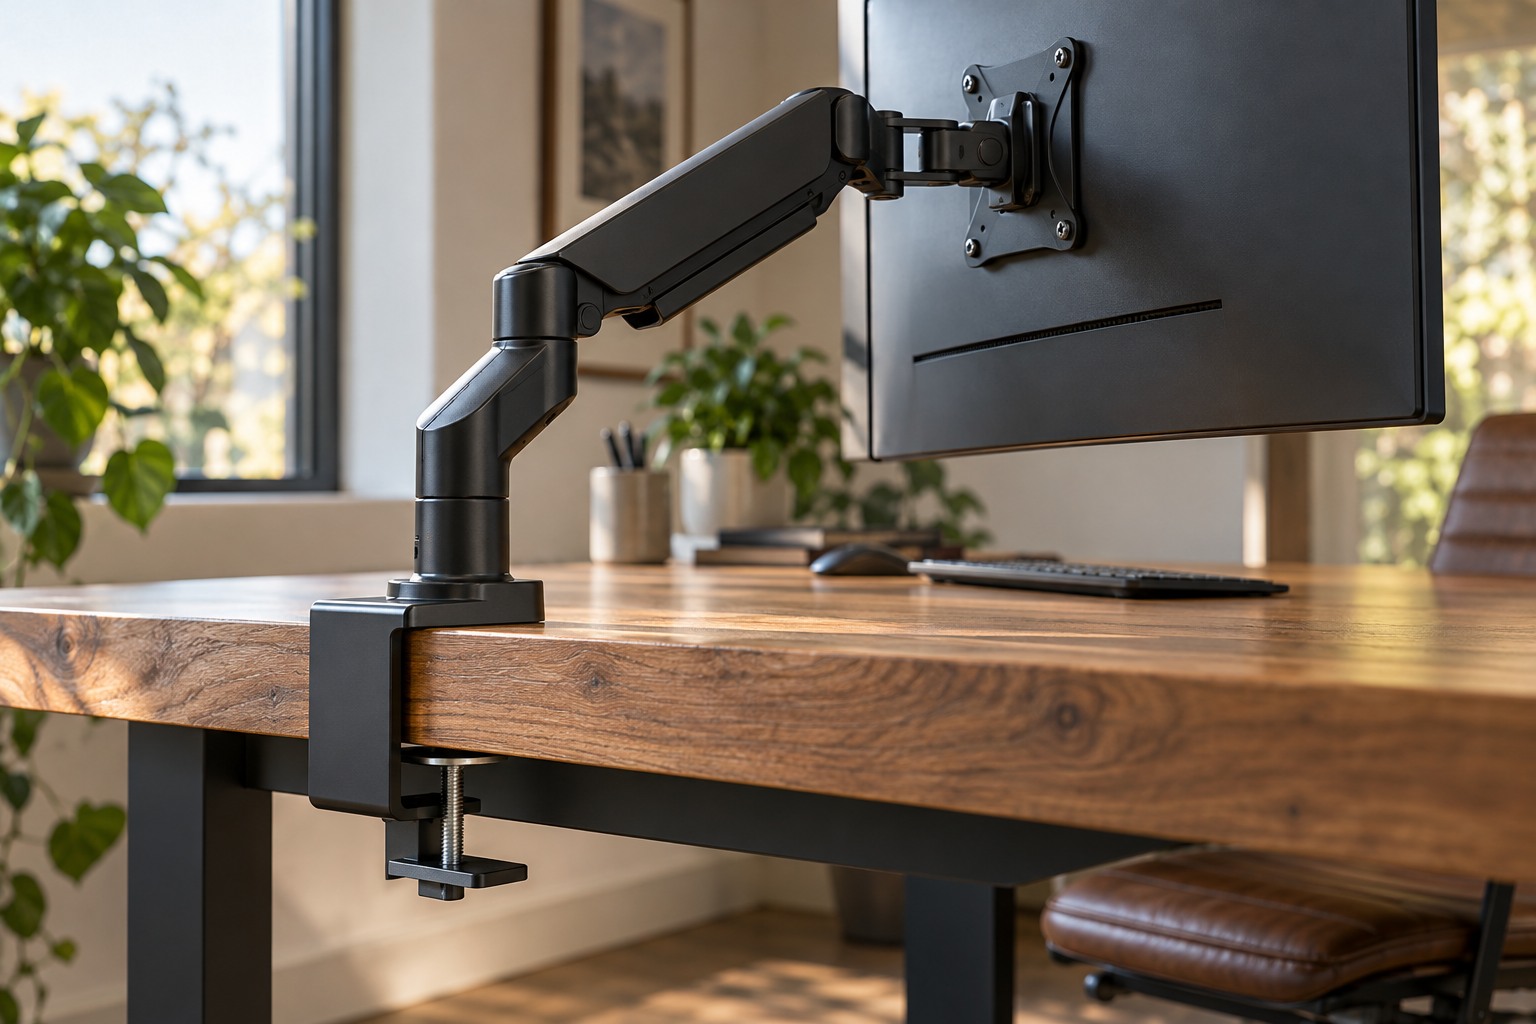
Leave cable slack for the monitor's intended height and angle adjustments, while keeping the lead clear of hinges and arm joints. Move the screen carefully through its normal range and watch whether the webcam shifts. If the clip is unstable, use a supported alternative mount rather than adding an improvised weight on top of the display.
A webcam may introduce another microphone into the system. Check that chat and recording applications still use the input you intend. Make a short test recording with picture and sound, then play it back. Once the framing, mounting and audio are correct, save the arrangement so reconnecting the camera does not require another round of trial and error.