Identify the switch system
Find the exact keyboard model, revision and switch version on the order record or label. A product family may contain a soldered version, a hot-swap mechanical version and an optical version with similar-looking cases. The replacement rules belong to the version you own, not the family name alone.
Keychron explicitly explains that an optical K5 cannot take conventional mechanical switches because the operating mechanisms differ. That distinction is useful beyond that example: physical removability does not establish electrical or sensing compatibility. Magnetic and low-profile systems can also have their own supported switch families. Use the keyboard maker's compatibility list as the starting point.
Inspect pins, height and surrounding parts
For a conventional mechanical board, check whether its sockets support the switch's pin arrangement and housing. A listing may distinguish three-pin and five-pin designs, but that distinction alone is not a complete compatibility check. The plate opening, LED position and switch orientation can matter as well. Do not force a switch because most of its outline appears to fit.
Low-profile switches and keycaps deserve particular care. Similar-looking stems can sit at different heights or use different spacing. A keycap that attaches may still collide with the housing or fail to travel properly. Confirm the complete combination rather than shopping for a switch and cap independently by color or appearance.
Before buying enough switches for the entire board, consider a small compatible sample if available. Count every switch position, including the spacebar and other stabilized keys, and allow for the package quantities sold. Keeping the original switches labeled gives you a reversible path if the new feel is not suitable.
Replacement is a controlled maintenance task
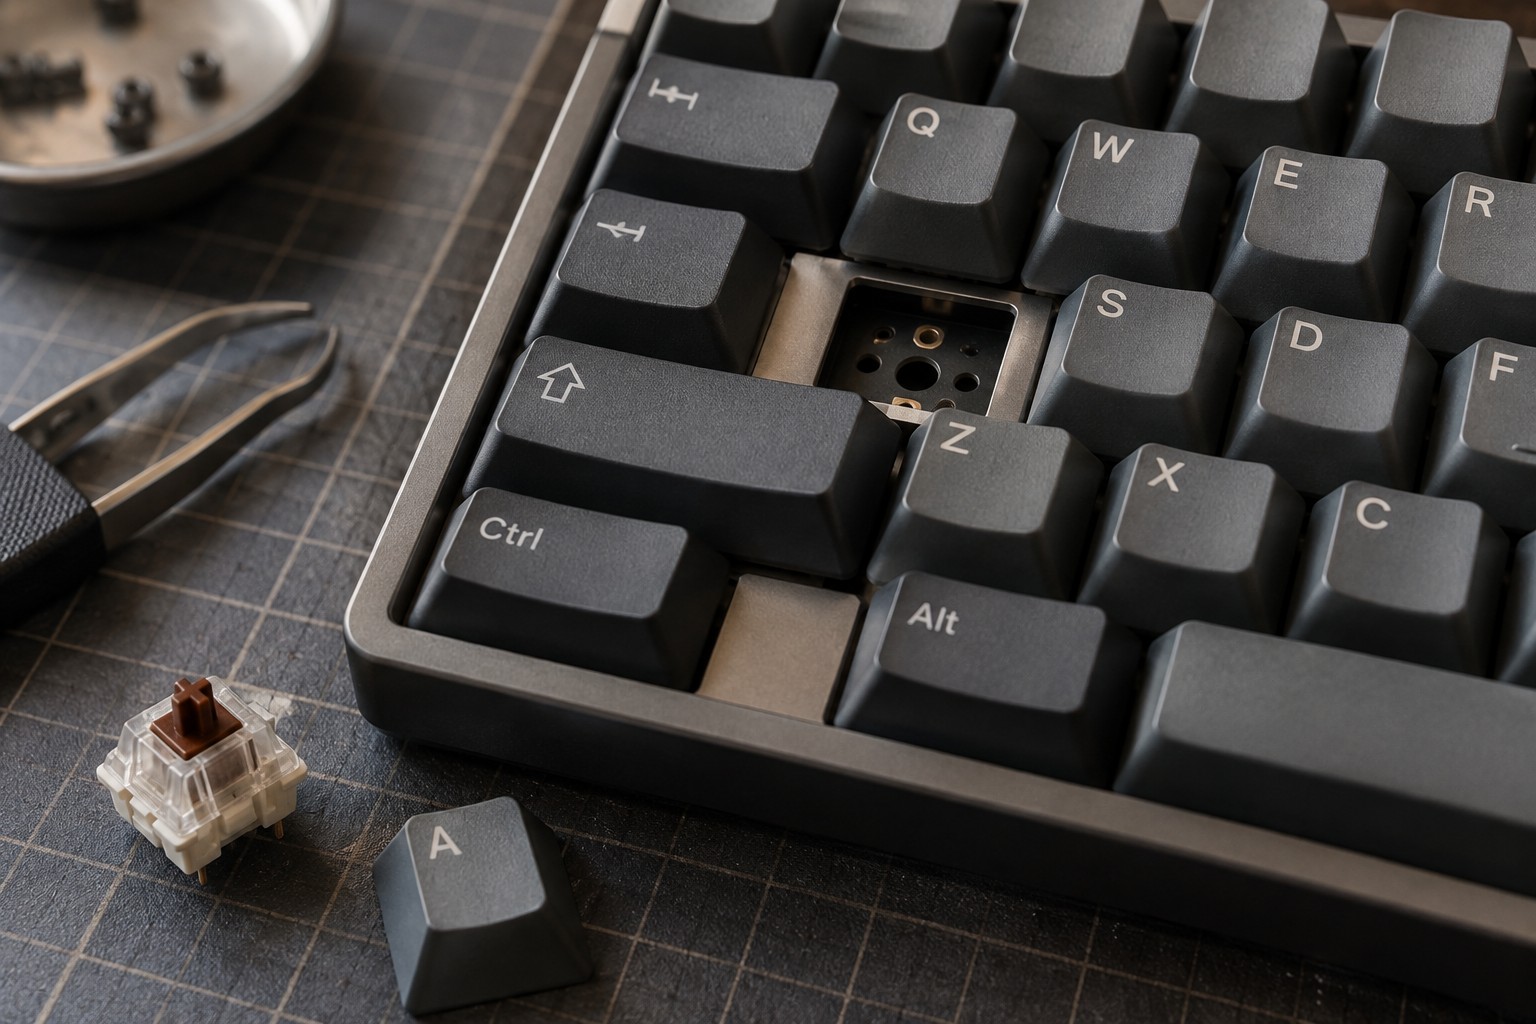
Follow the manufacturer's removal instructions with the keyboard disconnected and powered off. Use the specified tools and pull in the intended direction. Bent pins can damage a socket if pressed into place, while a loose socket may require repair rather than another attempt at forcing the switch down.
Inspect each replacement before insertion and stop if it does not seat with the expected gentle pressure. Test a few keys before replacing the whole board so that a compatibility problem appears early. Keep drinks and loose metal parts away from the work area, and do not treat a hot-swap label as permission to work on a powered device.
Once the keys work, test long keys and repeated presses as well as a simple typing line. Save the exact switch model in your keyboard notes. That record makes a later repair easier than trying to identify a loose switch by its stem color.