Match the socket and mounting kit
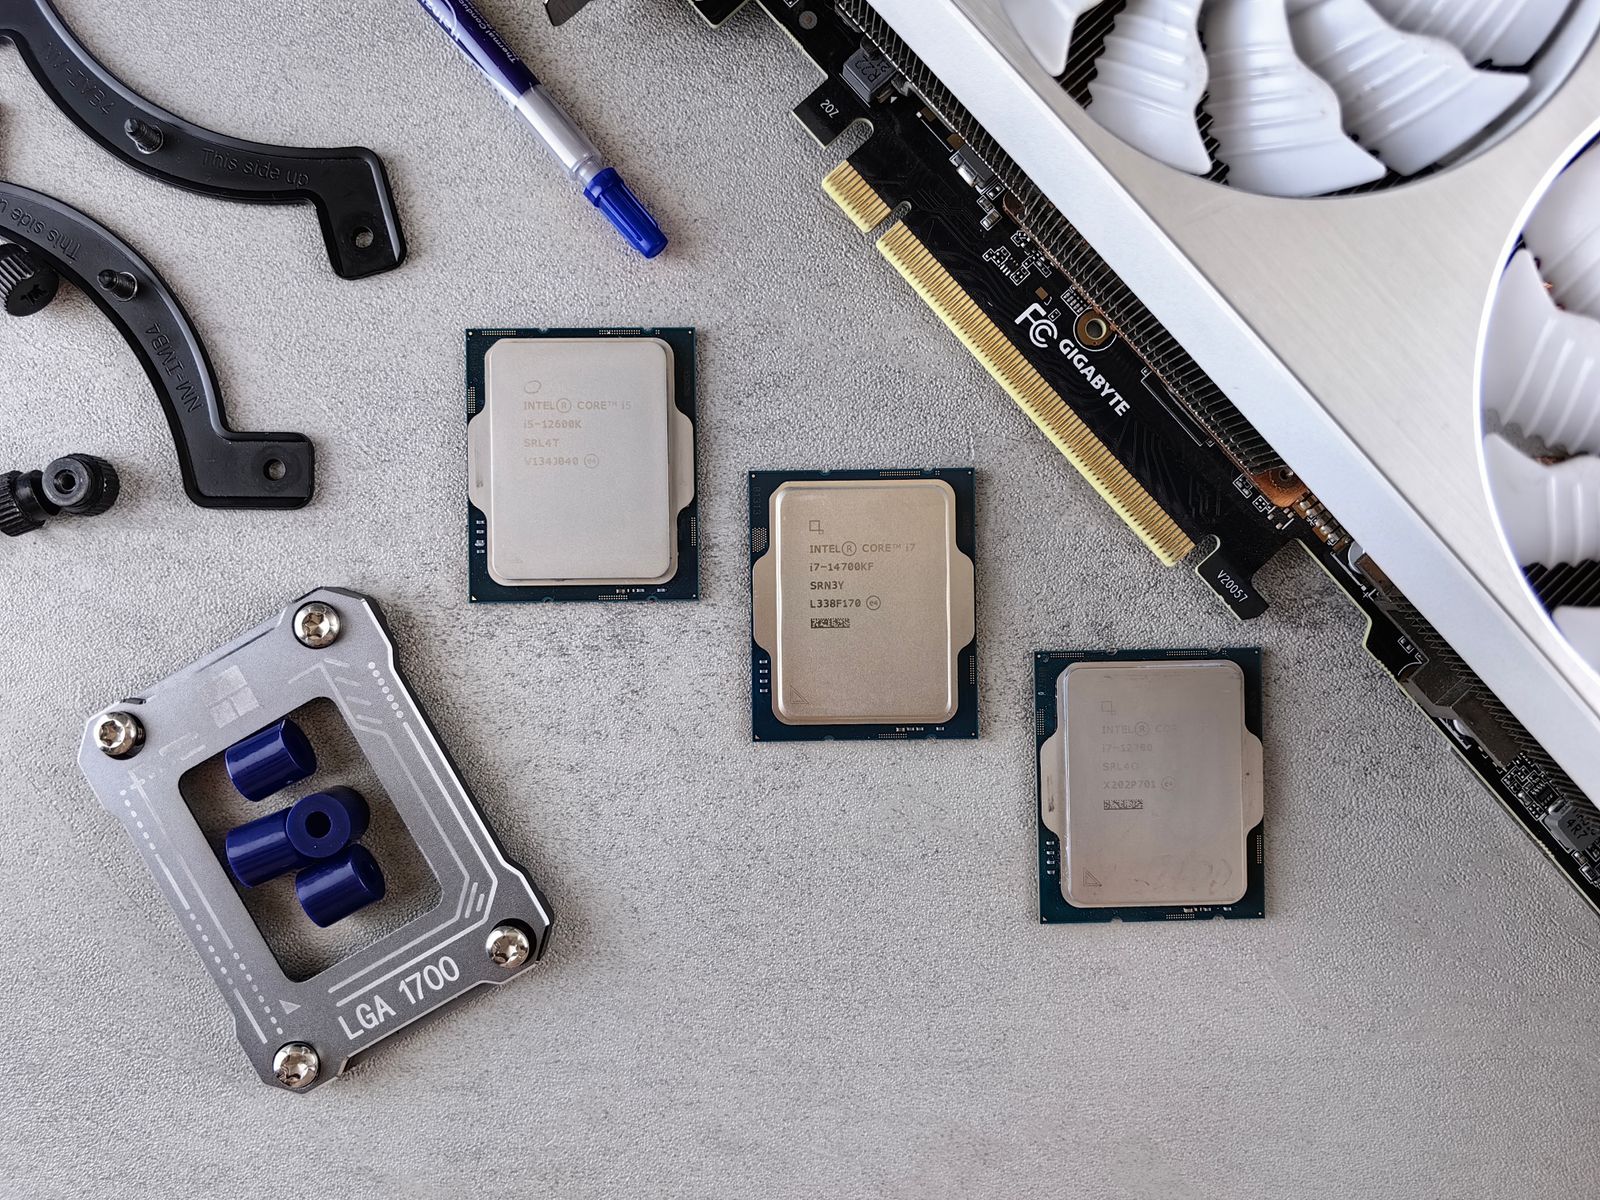
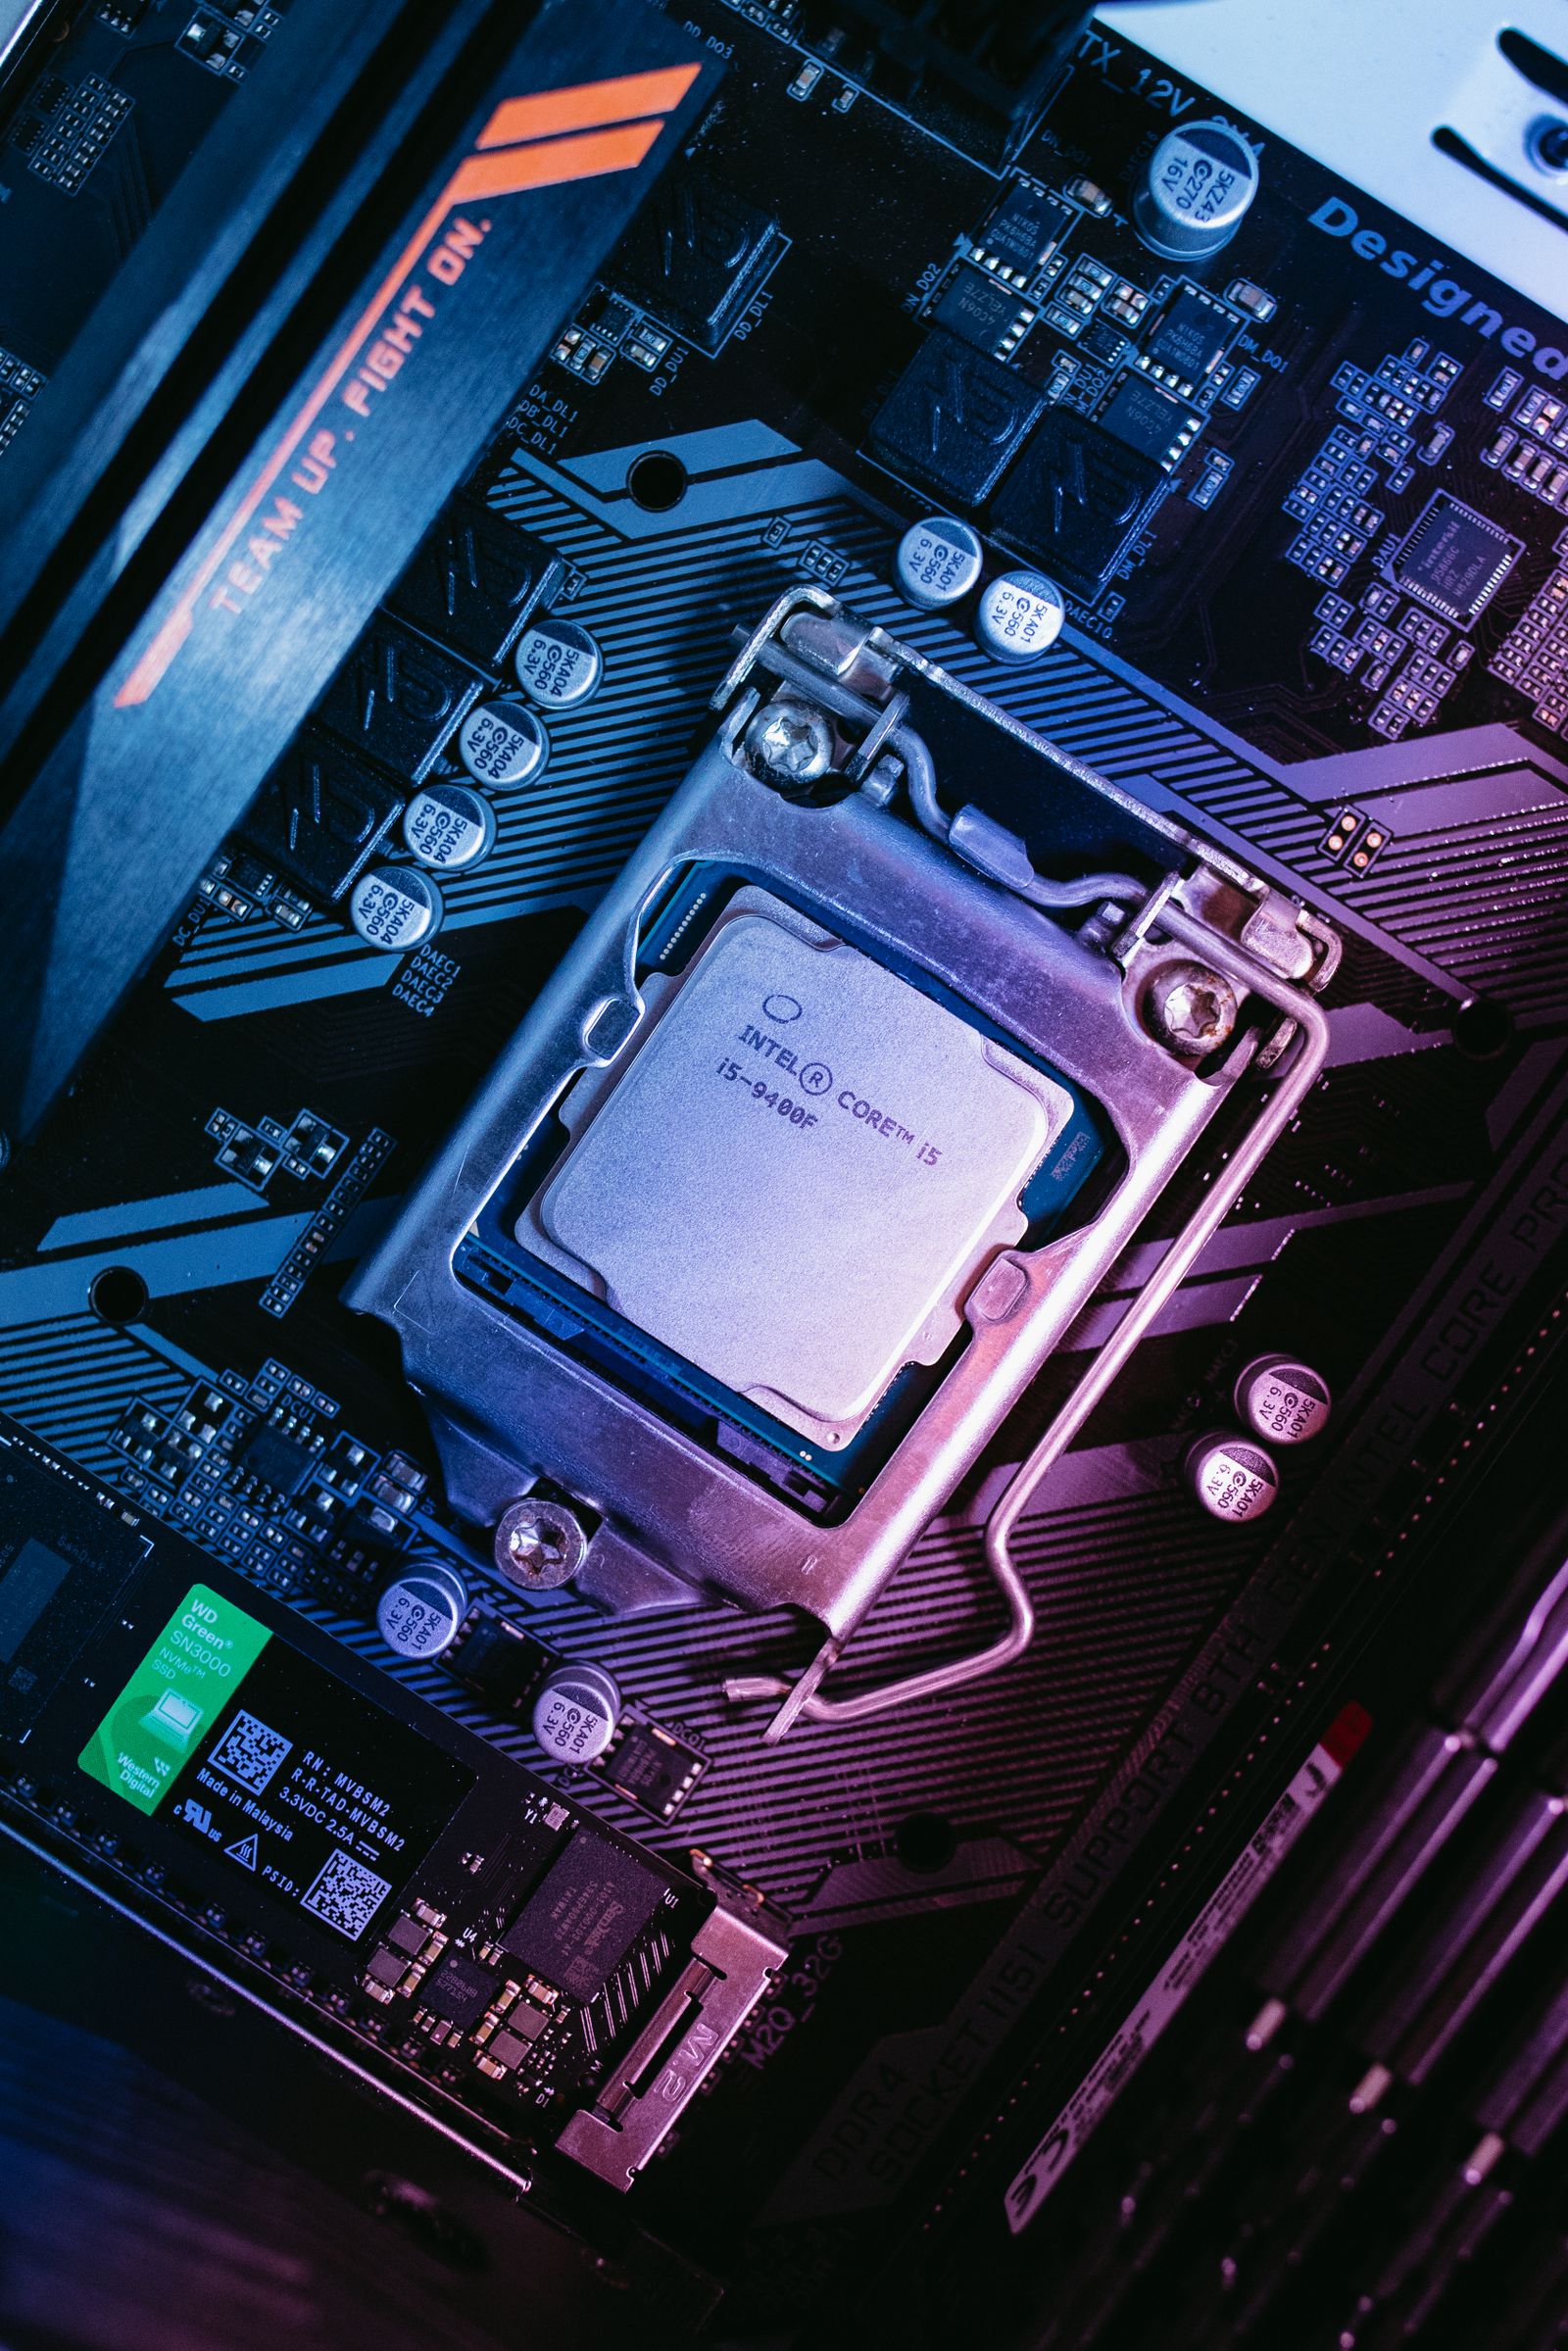
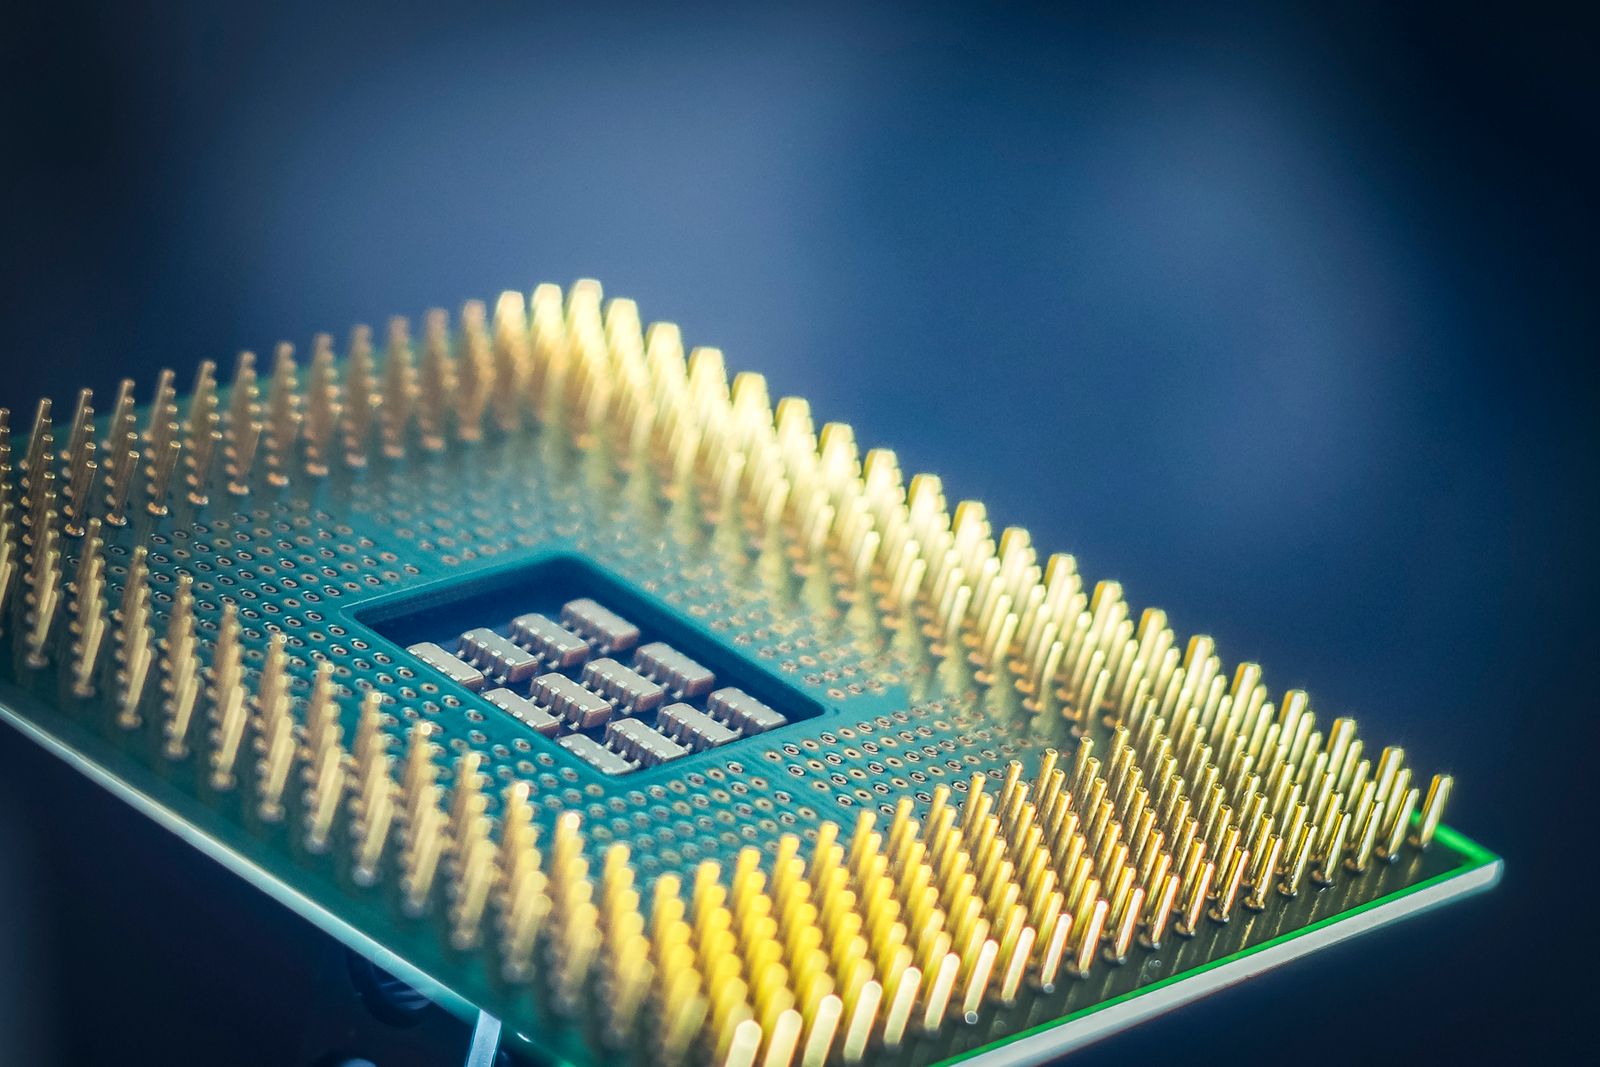
Find the processor socket and the cooler's supported mounting list. Confirm whether the required brackets are included in the box or supplied separately for a newer platform. A cooler that supported a previous processor in the same brand family may need a different kit, and a similar hole pattern does not justify improvised hardware.
Check the motherboard and cooler documentation for restrictions around nearby components. Backplates, heatsinks and memory placement can affect fit. Use the specified screws and spacers; their length and position are part of the mounting system, not interchangeable small parts.
Measure the full installed shape
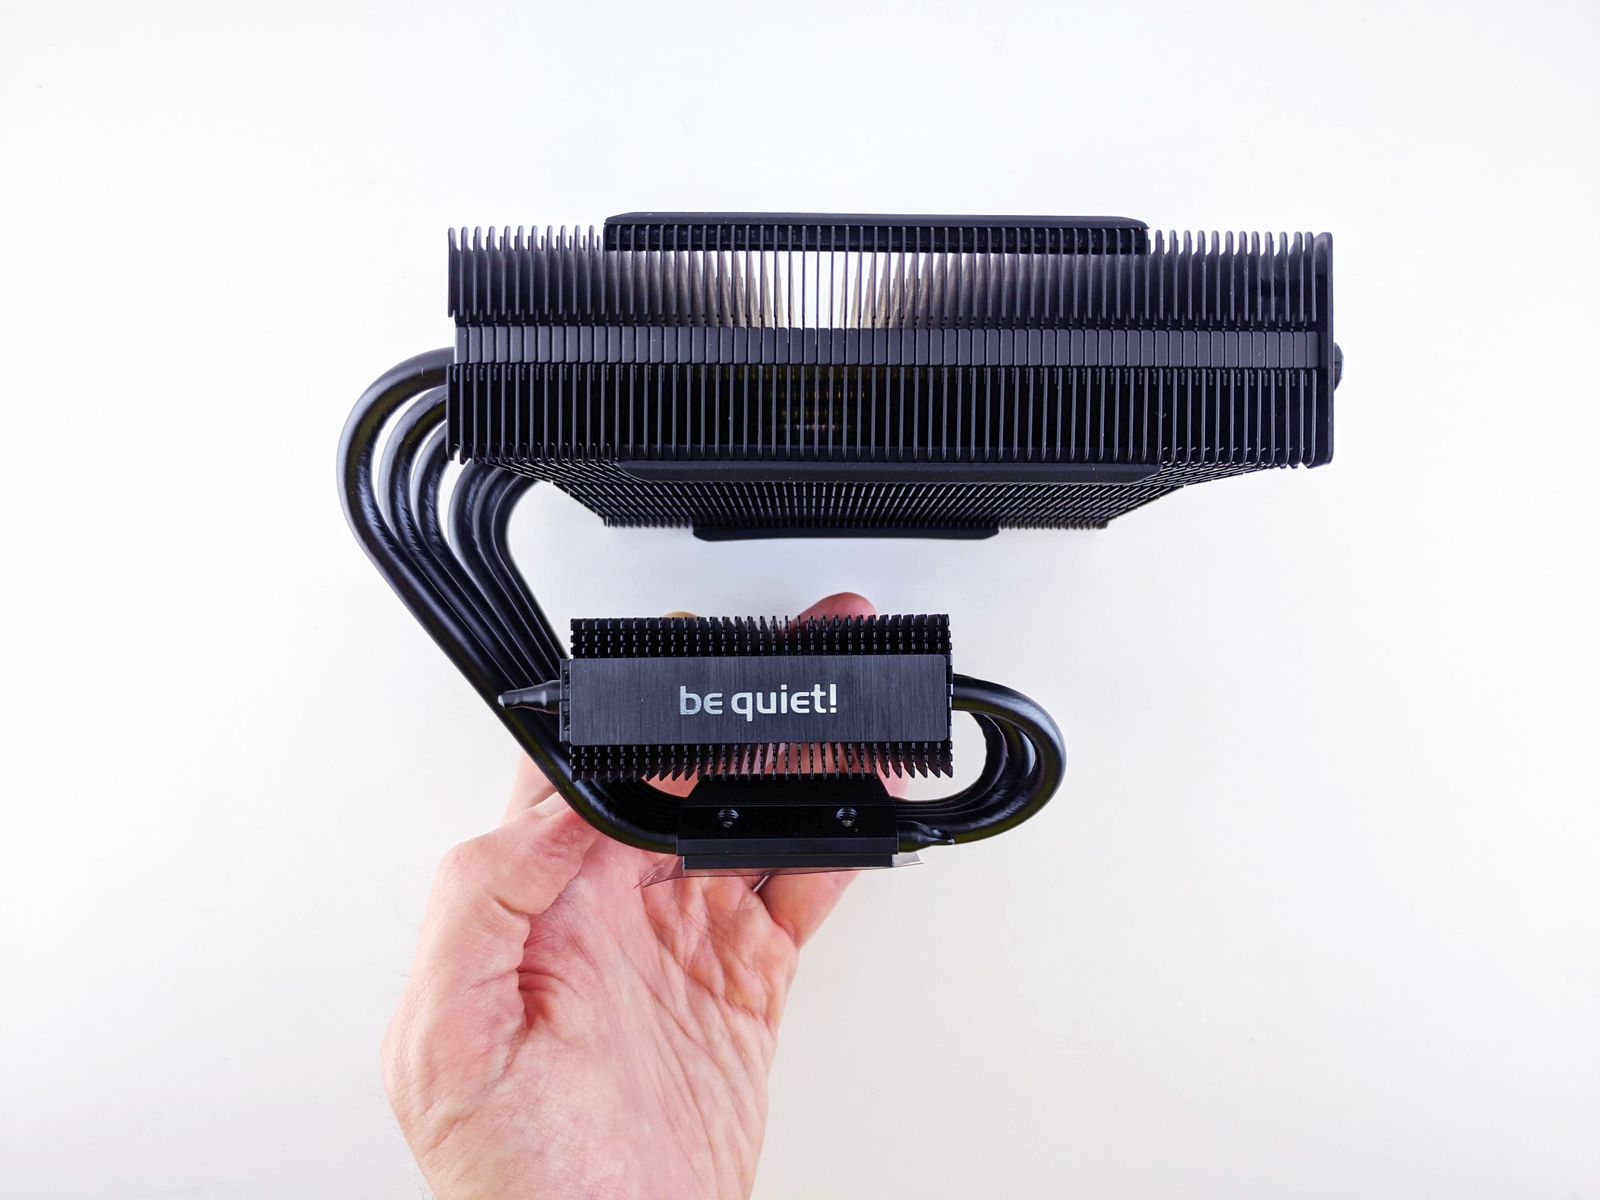
Compare cooler height with the case's supported clearance, including any conditions in the case manual. For an air cooler, check whether the fan needs to be raised to clear tall memory modules. That adjustment can increase the total height beyond the cooler's standard dimension.
Inspect overhang near the first graphics slot and memory slots. A cooler may fit after installation but make later access difficult. Consider whether memory can be removed without dismantling the cooler and whether fan clips remain accessible inside the case.
For liquid cooling, the radiator, fans, fittings and tubes need their own space. A case listing a particular radiator size does not guarantee every radiator of that nominal size fits. Follow both manufacturers' compatibility notes and avoid sharp tube bends or pressure against panels.
Include cooling requirements and service access
Choose a cooler suitable for the processor's documented operating requirements and the intended case airflow. Marketing power ratings are not always directly comparable across cooler brands. Read the maker's compatibility guidance for the actual processor rather than ranking products only by a single claimed capacity figure.
Follow the installation sequence, thermal-interface instructions and tightening method supplied with the cooler. Remove any protective film specified by the instructions, and do not add extra thermal material on top of a pre-applied layer unless directed. If the mounting hardware does not align, stop and verify the kit.
After installation, confirm that fans or pumps are connected to the appropriate headers as documented and that the system reports normal operation. Keep the spare mounting parts labeled with the cooler model. A future platform change is easier when the original hardware and instructions have not become an unidentified bag of screws.